Unlocking the Potential of Your iPhone’s Nightstand Mode
Are you curious about the exciting iOS 17 Nightstand Mode or StandBy Mode? If you’re seeking a stylish and functional way to transform your iPhone into an alarm clock, clock radio, or calendar, you’ve come to the right place! In this comprehensive guide, we’ll walk you through every step of using iOS 17’s Nightstand Mode, ensuring you make the most of this handy feature. Let’s dive in and discover how to set up and customize Nightstand Mode on your compatible iPhone models that support iOS 17.
Recent Released: Is Blaroken Clothing Scam or Legit [Review]
How To Use iOS 17 Nightstand Mode: Step-by-Step Guide
Step 1: Put Your Screen to Sleep
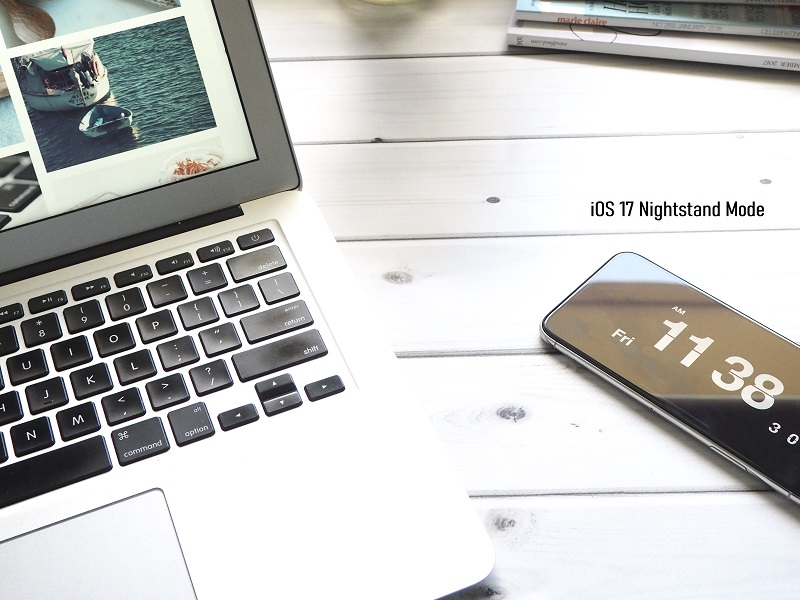
The journey to Nightstand Mode begins with a simple motion. Gently rotate your iPhone to landscape mode and place it on your charging surface. This action not only charges your device but also triggers the Nightstand Mode prompt.
Step 2: Tap “Continue” to Enter Nightstand Mode
Once your iPhone is resting in landscape mode, you’ll be prompted to enter Nightstand Mode. Tap the “Continue” button, and your iPhone will seamlessly transition into this feature, instantly turning into a convenient bedside companion.
Step 3: Customize the Display
Personalization is key, and Nightstand Mode offers customization options to suit your preferences. Head to your iPhone’s settings and follow the instructions provided to tailor the Nightstand Mode display to your liking. From interactive widgets to displaying your cherished photos, you have the power to make it your own.
Step 4: Enjoy the Features
Nightstand Mode isn’t just a simple clock display. It offers a variety of features that enhance your nightly routine. The first screen introduces interactive widgets, allowing you to access important information at a glance. The second screen showcases individual photos from your Photos library, adding a personal touch to your bedside. The third screen displays a prominent clock, ensuring you’re always aware of the time.
Step 5: Enable Nightstand Mode
To enable Nightstand Mode, navigate to your iPhone’s Settings. Scroll down until you find the “Standby Mode” option. Tap on it, and make sure the Standby Mode switch is toggled on. With this setting enabled, you’re ready to embrace the convenience of Nightstand Mode whenever you charge your device.
Step 6: Compatibility Check
Before you fully embrace Nightstand Mode, it’s essential to confirm if your iPhone is compatible with this feature. Nightstand Mode is available on specific iPhone models that support iOS 17. Take a moment to verify your device’s compatibility to ensure you can take advantage of this exciting functionality.
What Are the Requirements for Using Nightstand Mode or StandBy Mode on iOS 17?
To make the most of Nightstand Mode or StandBy Mode on iOS 17, certain requirements must be met. Let’s explore these prerequisites:
- iPhone Compatibility: StandBy mode is available on all iPhones that are upgradeable to iOS 17. This includes both the latest iPhone models and older models like the iPhone XR.
- Charging: Your iPhone needs to be charging while in Nightstand Mode or StandBy Mode. You can use a MagSafe or Qi-based wireless charger, or a Lightning cable.
- Orientation: Your iPhone needs to be in a horizontal position while in Nightstand Mode or StandBy Mode. This means you need to place your iPhone on its side when using StandBy mode.
To enable StandBy mode on iOS 17, follow these steps:
Step#1. Go to Settings on your iPhone.
Step#2. Scroll down and tap on StandBy Mode.
Step#3. Make sure the StandBy Mode switch is toggled on.
Once you have met these requirements and enabled Nightstand Mode or StandBy Mode, your iPhone will turn into a smart display, showing widgets, photos, and a large clock while it is charging.
Frequently Asked Questions
Q1: What is Nightstand Mode, and how does it work?
Nightstand Mode is a feature in iOS 17 that transforms your iPhone into a functional and visually appealing bedside companion. By placing your iPhone in landscape mode while charging, you can access an array of features, including interactive widgets, personalized photo displays, and a prominent clock.
Q2: Can I customize the appearance of Nightstand Mode?
Absolutely! You have the freedom to customize the Nightstand Mode display according to your preferences. Head to your iPhone’s settings and follow the provided instructions to tailor the appearance, making it uniquely yours.
Q3: Is Nightstand Mode available on all iPhone models?
Nightstand Mode is available on certain iPhone models that support iOS 17. Before diving into this feature, ensure your iPhone is compatible by checking the device’s compatibility with iOS 17.
Q4: Can Nightstand Mode be used as an alarm clock?
Yes, Nightstand Mode can indeed be used as an alarm clock. With its large and easily readable clock display, interactive widgets, and personalized photo showcase, it serves as a stylish and functional alternative to traditional alarm clocks.
Q5: How do I exit Nightstand Mode?
Exiting Nightstand Mode is as simple as tapping the screen or picking up your iPhone from the charging surface. This action will return your device to its regular display and functionality.
Q6: Can I use Nightstand Mode with wireless charging?
Absolutely! Nightstand Mode seamlessly integrates with wireless charging. Simply place your compatible iPhone on a wireless charging pad while in landscape mode, and Nightstand Mode will activate.
In Conclusion
Discovering and utilizing iOS 17’s Nightstand Mode adds a touch of elegance and functionality to your nightly routine. By following the straightforward steps outlined in this guide, you’ll unlock the full potential of this feature and transform your iPhone into a versatile bedside companion. With the ability to customize the display, enjoy interactive widgets, and personalize photo showcases, Nightstand Mode offers a truly unique and practical experience. Embrace the convenience, style, and functionality that Nightstand Mode brings to your iOS 17-equipped iPhone.